DIY Jewelry Holder from a Thrifted Spoon Rack
There always seems to be a handful of vintage spoon racks at every thrift store. Collecting souvenir spoons isn’t as popular as it once was, so now what to do with those wooden racks? They are often handmade and well built, so it seems a shame to let them get dusty and forgotten.
Well, I also needed a jewelry display / organizing solution, so I decided to see if I could make something creative with this old spoon rack!

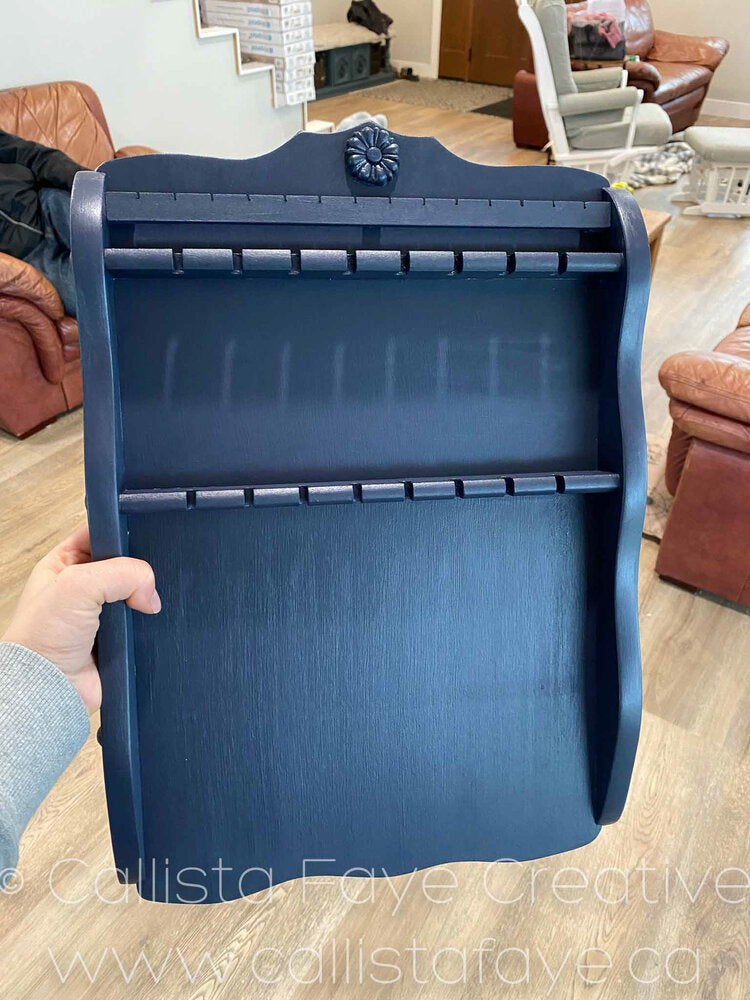
I actually got this one for FREE from an antique store closing sale - score! But I see them all the time for around $5 at thrift shops. I liked it especially because the design itself wasn’t too dated, and I knew a few modifications and a coat of paint is just what it needed.
I started by removing the bottom rack. I had to drill through the wood buttons on the sides to remove them, and use acetone to dissolve the glue that had held them in place. Then I was able to remove the two screws (one on each side) that held the rack in. There were also two finishing nails in it from the back, which it easily slid off of. I filled those holes and put new wood buttons in the larger holes left on the sides. I could have filled those holes as well, but I thought the wood buttons added more visual interest.


I used a thin piece of MDF to create an earring rack. I have stud earrings and wanted a solution that they could easily slide in & out of without having to take the back off (while on the display). I cut it to length, and cut an even number of small notches along the top. I used small scrap pieces to create blocks to glue it to (it was too thin to nail or screw).


I gave the whole thing 3 coats of a custom blue paint. I use Fusion Mineral Paint, and made this custom colour by mixing Midnight Blue and Liberty Blue in a 1:1 ratio. It creates the most perfect shade of navy blue that I absolutely love, and use all over my home.

Now I have seen these made before, and you can simply hang your necklaces right off the existing spoon racks. The way mine is, it would hold about 7 longer necklaces like that, and a few shorter ones on the top rack. I have WAY more necklaces than that! So I needed to add some hardware in order to fit more. My vision was earrings along the top, bracelets on the middle (also needed to incorporate some cuffs), and necklaces on the bottom.
I took the following photo at the beginning, while I was planning it all out.

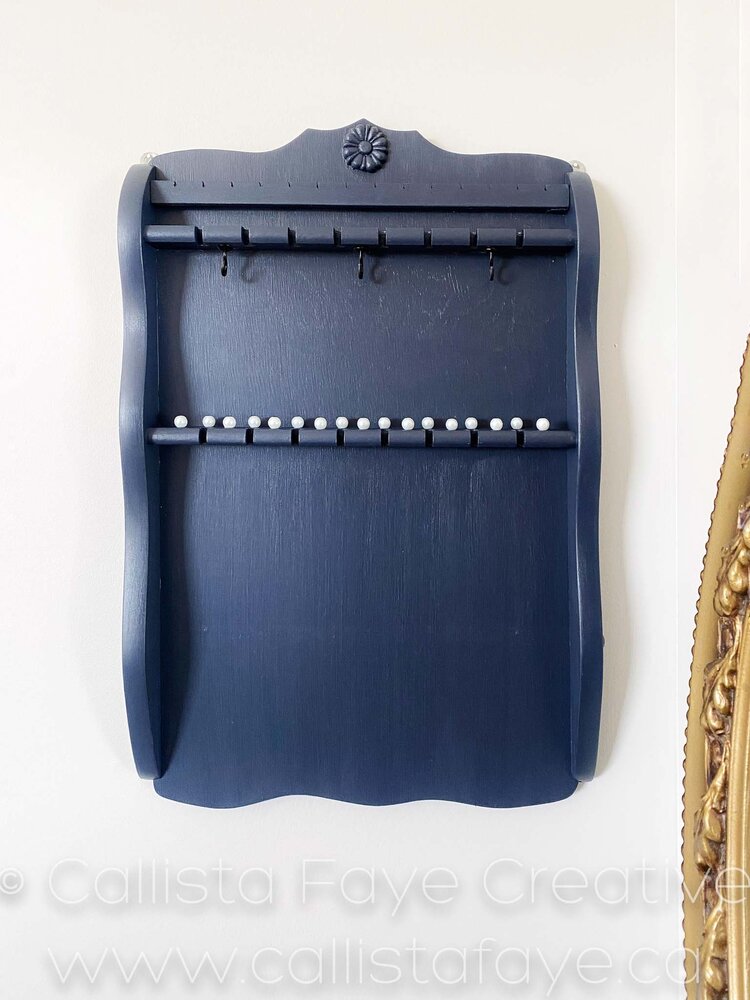
I spray painted some ¾” cup hooks black, to use beneath the original top rack for the cuff bracelets. I had some old pearl beads laying around, which I superglued to the top of the other rack to act as “hooks” for my necklaces. You could also use small cup hooks underneath, but I thought this was different and pretty! I glued one behind each indent so that a necklace could hang in the indent, and one pearl closer to the front in the space between each indent. This gives the necklaces a bit of breathing room front to back - I have a lot!


The spoon rack already had hanging hardware, so now it is ready to display my jewelry!


It turned out exactly the way I needed it to. I love how the navy blue sets off my jewelry, and it is so nice being able to see everything at a glance. It has also encouraged me to actually wear all my different necklaces too! I hope this gives you some inspiration if you are also in need of a jewelry holder. I would love if you shared your project with me.
