
5 Minute 5 Dollar Makeover - Thrifted Stools
My sisters scored BIG while they were out thrift shopping for their new university home, and found this super cute pair of stools. I’m sure you have seen a similar style! These will come in so handy while entertaining their friends, and stack neatly out of the way when not needed.

The really cool thing about this style of stool is that they are super easy to refinish and reupholster. The seat isn’t even screwed to the base like some styles, they just pop right out (and back in)! This makes for an incredibly easy project that anyone can do, even if you have no experience with reupholstering.

Supplies:
-
Rustoleum Universal spray paint in Oil Rubbed Bronze (our go-to!)
-
canvas drop cloth (we had some leftover from another project, but you can purchase it cheaply at Home Depot or Walmart)
-
staple gun
-
second set of hands
These stools were $4 each at the thrift store, and we already had the spray paint and drop cloth. This makes for an incredibly cost effective project! Even if you have to purchase those items, you still get a large bang for your buck.
For some reason we didn’t photograph spray painting the legs.
Just use light, overlapping coats. Follow the directions on the can for recoat and handling times.

These cushions just pop right out from the leg frame, so easy. Some styles of stools may have a screw or two holding the seat in place, remove however necessary.
While the spray paint is drying, reupholster the cushions. This is where a second set of hands comes in handy.

Cut out a piece of the canvas, leaving yourself a couple extra inches of fabric around all sides of the cushion. Exact measurements or being perfectly straight is not important. It will all be folded underneath the stool and not visible.

-
Start by stapling down all four sides at the centre.
-
Pull each corner back taut & staple.
-
Wrap the remaining fabric over, like a present.
-
Staple the crap outta everything!
-
Repeat for other cushion.

You’ll have something that looks like this. It’s okay if it’s messy.

You can cover all the loose ends with some cardboard cut to size (we used an old cereal box).
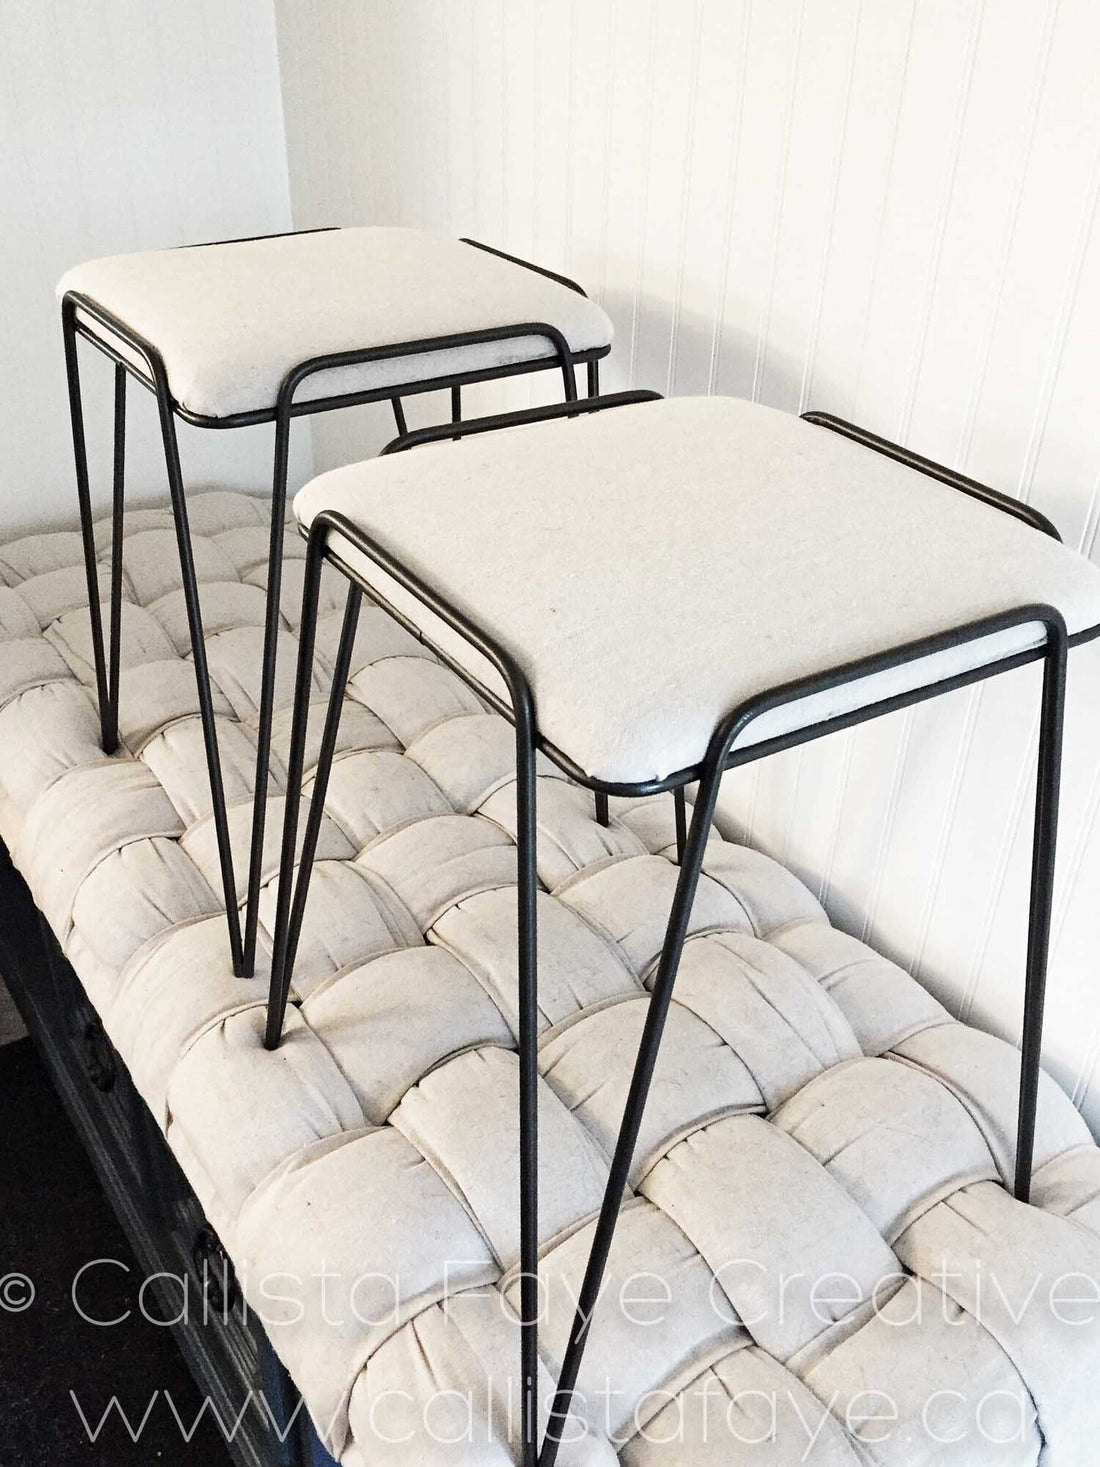
By now, the legs should be dry so they are ready to reassemble! Pop the seats right back in.


I’m honestly a little jealous that these won’t be staying at my home! I love the clean, simple look they have now. They will fit in with any kind of decor! The natural fabric of the canvas and the iron look of the legs are a timeless combination.


For extra protection, spray the cushions with ScotchGuard.


How the stools are currently being used, considering my sisters can’t have any guests!
Hope you like it, please let me know if you have any questions! And if you make it yourself, I would love if you share your version with me! Happy creating!